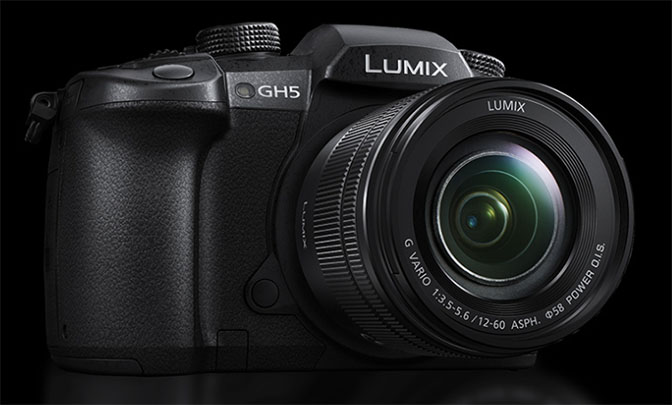
Here’s a quick synopsis of the modes available on the Panasonic GH5. There’s a lot more information available in the manuals, but this might help you when you’re just starting out.
Program Mode (P)
Set the Mode dial to ‘P’, the camera has full automatic control of shutter and aperture settings.
Aperture Priority (A)
The user selects the desired aperture while the camera selects the appropriate shutter speed.
Set the Mode dial to ‘A’, Both the Front Dial and the Back Dial can be used to set the aperture.
Shutter Priority (S)
The user selects the desired shutter speed while the camera selects the appropriate aperture.
Set the Mode dial to ‘S’, Both the Front Dial and the Back Dial can be used to set the shutter.
Manual Mode (M)
The user selects both the aperture and the shutter speed.
Set the Mode dial to ‘M’, the Front Dial sets the aperture and the Back Dial sets the shutter.
Creative Video Mode (Camera – M)
This mode is used to record video.
Set the Mode dial to ‘Camera – M’, the Front Dial sets the aperture and the Back Dial sets the shutter.
Custom Modes (C1, C2, C3)
These modes are used to configure the camera to preset settings that you have chosen in the past.
To save camera settings for the preset modes, first configure your camera with the settings you want to save and then select the Wrench / Cust. Set Mem menu item followed by C1, C2, C3-1, C3-2, C3-3.
C3 can actually hold three different configurations. To select the one you wish to use, first select C3 using the Mode Dial and then press the icon on the top left of the rear screen. This will display a menu allowing to select the configuration you want to use.
Creative Control Mode (Pallete Icon)
Allows you to choose from a number of filters that can be applied to the image. This mode is probably not worth using since all of this can be achieved during post-processing.
Intelligent Auto Mode (iA)
Camera evaluates the scene and chooses the best settings. There are actually two sub-modes available in this mode. Intelligent Auto and Intelligent Auto +. In Intelligent Auto mode, the camera controls everything whereas in Intelligent Auto + mode you have the ability to override some of the choices made by the camera.
When the camera mode is set to Intelligent Auto, a new menu becomes available on the rear screen which lets you choose between Intelligent Auto and Intelligent Auto +.
Additional menus are also available in this mode:
- iHandheld Night Shot – when enabled, takes a number of images and combines them. This is probably done to mitigate low light noise.
- iHDR – when enabled, takes a number of images at different exposures to increase the dynamic range of the image.
If you find that iHandheld Night Shot and iHDR are grayed out, it’s because both options are only available when the Drive Mode dial is set to single shot.


1 comment
Thank you!